Short answer: Aluminum cladding installation runs in five stages — survey and setting-out, bracket and rail sub-frame, cavity closure and fire stops, panel hanging base-up, then joint sealing and QC. The tolerance chain runs structure ±20 mm, brackets ±15 mm and panels ±1.0 mm, and a crew fixes 10–35 m² per worker-day depending on the fixing family.
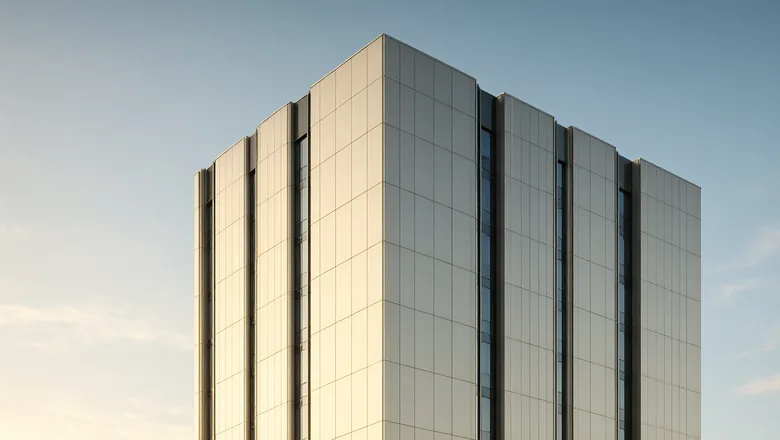
Installation is where an aluminum cladding package is won or lost. On a 10,000 m² rainscreen, labour is 12–20% of installed cost and the site programme runs 12–20 weeks after 6–12 weeks of fabrication and 4–8 weeks of sea freight. The physics that shapes the sequence is fixed: aluminium expands 23 µm/m·K, so a 4.0 m panel moves ≈4.6 mm across a 45°C design day (ΔT ≈ 50 K) — which is why every panel hangs on adjustable brackets instead of being screwed rigidly to the slab. This article sets out the sequence, the tolerance chain, realistic installation rates and the defect list to close out before handover. It complements the fixing families in the rainscreen fixing article, the flatness rules in the flatness article and the aluminum cladding guide, and it applies the 45°C design day and SBC 901 / Mostadam used across our aluminum cladding pages.
How Is Aluminum Cladding Installed on a Facade?
The sequence is bracket-first and bottom-up. The sub-frame absorbs the structure’s ±20 mm, the setting-out grid pulls the error down to ±3 mm, and only then do panels arrive — at that point every panel position is already fixed in space, so site work becomes repeatable instead of improvised. Fire stops are installed per floor as the panels rise, not retro-fitted at the top, because the cavity closes as each elevation is completed.
| Stage | What happens | Output / QC checkpoint |
|---|---|---|
| 1. Survey & scan | As-built survey of slab edges against the fabrication model | Model updated, clash list closed |
| 2. Setting-out & datum | Transfer grid to every slab; install base and head datum rails | Grid ±3 mm |
| 3. Brackets & rails | Fix aluminium brackets to the slab, shim to datum; mount rails | Brackets ±15 mm, three-way adjust |
| 4. Cavity closure | Air/water barrier, cavity closers, floor-edge fire stops (A2 mineral wool, EN 13501-1) | Continuous fire-stop line per floor, photo record |
| 5. Panel hanging | Face-fixed, hook-on or back-bolted cassettes, base upward | 10–35 m²/worker-day, joint gauge sampling |
| 6. Sealing & gaskets | Open-joint cavities closed; sealed joints per silicone/EPDM design | Surface ≤ 40°C, dew point +3°C |
| 7. QC sweep & handover | 100% joint sweep, torque sampling, protective film removal | Film off within 60–90 days of fixing |
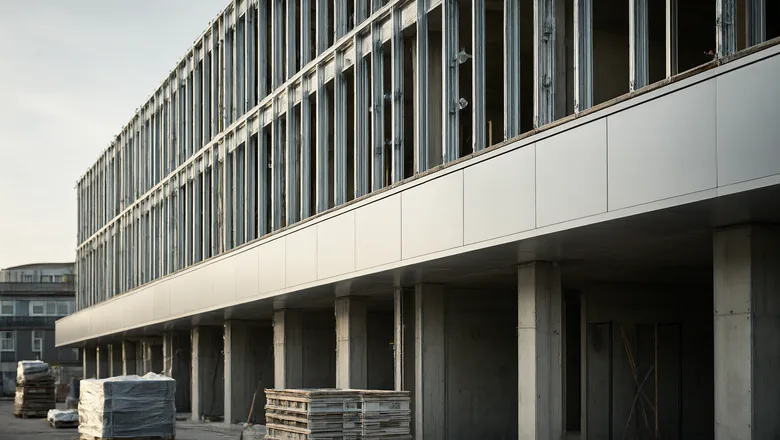
Two site rules never move. First, hoisting stops: panels are not lifted above 8–10 m/s wind, and manned platforms stop at 12.5 m/s — a real constraint in Gulf afternoons and East African trade winds. Second, the fixings are A2/A4 stainless steel with EPDM isolation pads matched to the ISO 9223 corrosivity class of the site (C3–C5 on most coastal projects), torqued to specification with ±10% sampling; an over-torqued screw is the fastest route to oil-canning, as the flatness article explains. The bracket, rail and cassette options behind these steps are compared in the rainscreen fixing article.
What Tolerances and Fixing Rules Keep Panels Aligned?
A facade reads as flat when three tolerances survive the chain: the grid, the bracket and the panel itself. Each stage inherits the previous stage’s error, so the tolerance budget is set top-down — the slab never sets out finer than ±20 mm, and the panel never carries more than ±1.0 mm of manufacturing error.
| Element | Tolerance | Rule |
|---|---|---|
| Slab edge (structure) | ±20 mm | Absorbed entirely by bracket adjustment |
| Brackets | ±15 mm, three-way | Shimmed to datum, torque checked ±10% |
| Setting-out grid | ±3 mm | Laser-transferred per elevation |
| Panel fabrication | ±1.0 mm, diagonal ≤ 1.5 mm | Factory check before packing |
| Joint width | ±2 mm on design width | Shadow gap 8–20 mm typical, gauged on site |
| Panel flatness | ≤ 2 mm per 1 m | Tape-line check, EN 1396 supply tolerance |
| Thermal movement | ≈4.6 mm per 4.0 m panel | ΔT 50 K at α = 23 µm/m·K — slotted holes, movement joints |
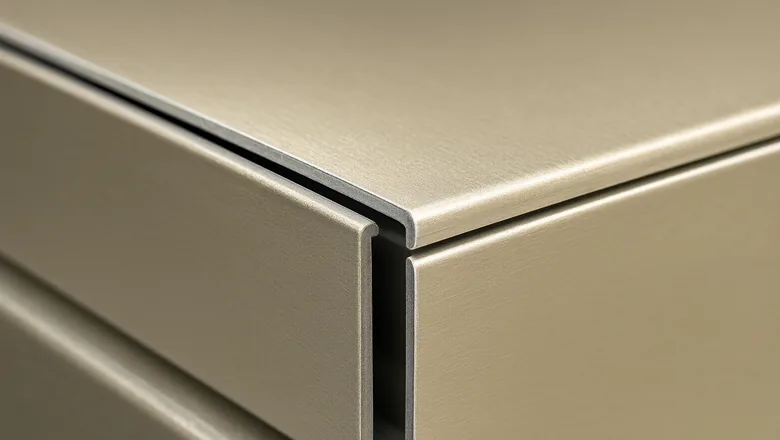
Three fixing rules protect the chain on site. Every panel carries at least four fixings with edge distances ≥ 2.5d; slotted holes or elongated bracket slots absorb the ≈4.6 mm thermal growth of a 4.0 m panel; and joint width is gauged, not eyeballed — an 8–20 mm shadow gap held to ±2 mm is what separates a crisp elevation from a patchwork. Where joints are sealed, the geometry, backer rods and sealant chemistry come from the joints and sealants article.
How Fast Can Aluminum Cladding Panels Be Installed?
Output is a function of the fixing family and the access method, not of crew size alone. A face-fixed elevation at 18–30 m² per worker-day roughly doubles a back-bolted cassette zone at 10–18 m²; access equipment shifts the rate again, which is why access is priced separately at 2–14% of package cost depending on method.
| Fixing family | m² / worker-day | Access share of cost | Note |
|---|---|---|---|
| Face-fixed | 18–30 | 6–10% (scaffold) | Fastest; fixings visible |
| Concealed hook-on | 14–22 | 8–14% (mast climber) | Panel-by-panel replacement |
| Hook-on cassette | 12–20 | 4–8% (MEWP) | Cassette alignment slower |
| Back-bolted cassette | 10–18 | 2–5% (rope access) | Heaviest, most precise |
| Factory pre-assembled strips | 22–35 | BMU (capital item) | Crane-dependent, fewest joints |
For a 10,000 m² package, plan on a crew of six at a blended 20 m² per worker-day — about 120 m² per day, or roughly 85 working days (about 17 weeks) before weather allowance. The working-year matters: East African sites offer 260–290 installation days a year, while Gulf sites drop to 200–240 once 45°C summer afternoons and sandstorm days are discounted. Programme the sealant window at surface ≤ 40°C and dew point +3°C, and sequence the elevations so sealed joints never chase the sun.
Which Installation Defects Should Be Caught Before Handover?
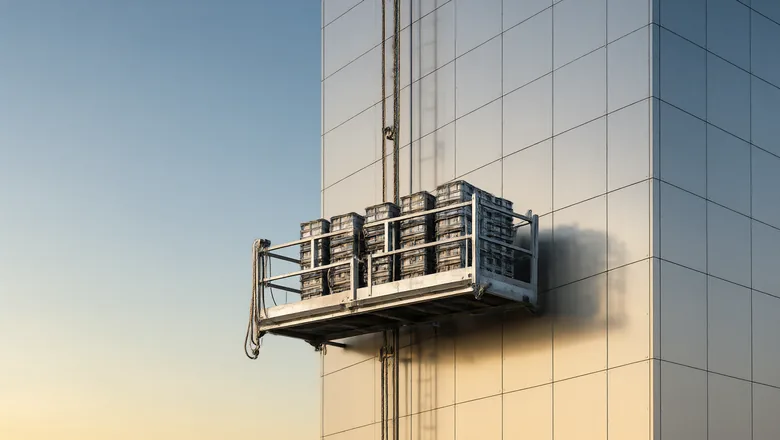
Most cladding failures visible in year one are installation defects, not panel defects — and every one of them is catchable in a sweep. Run a 100% joint-width sweep with a gauge, sample torque on 10% of fixings, photograph the fire-stop line per floor, and log every panel batch against its elevation.
| Defect | Root cause | Prevention |
|---|---|---|
| Uneven joint width | Grid drift between floors | Datum re-check every 5 m vertical |
| Oil-canning after fixing | Over-torque or over-constrained panel | Torque spec, slotted holes |
| Sealant smear / three-sided adhesion | No backer rod, wrong depth | PE backer 25–30% compression, 2:1 width:depth |
| Colour mismatch between zones | Mixed anodizing batches | One bath batch per elevation, ΔE ≤ 2.5 |
| Missing floor-edge fire stop | Programme pressure | Per-floor sign-off photo before panels close the zone |
| Stained or marked panels | Protective film left > 90 days | Strip film within 60–90 days of fixing |
| Corroding fasteners | Wrong grade substituted | A2/A4 stainless matched to ISO 9223 class |
Two close-out items are calendar-driven. Protective film must come off within 60–90 days of fixing, because the adhesive bakes onto anodized surfaces in Gulf sun; and the maintenance schedule in the maintenance article starts at handover, not at defect close-out. Where a panel is damaged late, hook-on and cassette systems replace a single unit in 2–4 h; face-fixed zones may need neighbours removed first — one more reason the fixing choice is a lifecycle decision, as the cost article quantifies.
Key takeaways
- Installation runs survey → setting-out → brackets → cavity closure → panels → sealing → QC, bottom-up, with fire stops installed per floor as the panels rise.
- The tolerance chain is set top-down: structure ±20 mm → brackets ±15 mm → grid ±3 mm → panel ±1.0 mm, with shadow-gap joints gauged to ±2 mm.
- Output is 10–35 m² per worker-day by fixing family; access method and wind limits (hoisting stops at 8–10 m/s) set the daily rate.
- A 4.0 m panel grows ≈4.6 mm over a 45°C design day — slotted holes and A2/A4 stainless fixings with EPDM isolation carry the movement.
- A 10,000 m² package takes roughly 85 working days for a six-person crew; close out film removal (60–90 days) and per-floor fire-stop photos at handover.
Frequently asked questions
How long does aluminum cladding take to install?
A 10,000 m² rainscreen typically takes 12–20 weeks on site with a full crew, after 4–8 weeks of fabrication and 4–8 weeks of sea freight. Smaller podium packages under 500 m² can be complete in two to three weeks, though small volumes carry a 15–25% premium on the installation price.
What is the typical facade installation rate per week?
A six-person crew at a blended 20 m² per worker-day installs about 120 m² per day, or roughly 600 m² per working week. Face-fixed zones reach 18–30 m² per worker-day, back-bolted cassettes 10–18 m², and factory pre-assembled strips up to 35 m² where crane time is available.
What are the most common facade installation defects?
Uneven joint widths from grid drift, oil-canning from over-torqued or over-constrained fixings, sealant applied without backer rod, colour mismatch between anodizing batches, missing floor-edge fire stops and protective film left on past 90 days. All are caught by a 100% joint sweep, 10% torque sampling and per-floor photo records.
What weather limits apply during installation?
Panels are not hoisted above 8–10 m/s wind and manned platforms stop at 12.5 m/s. Sealant is applied only when the surface is below 40°C and at least 3°C above dew point — a real constraint on 45°C Gulf afternoons, which is why elevations are sequenced so sealed joints stay in shade.
How do you replace a damaged cladding panel afterwards?
With hook-on or cassette fixings, one panel unclips and comes off in 2–4 hours without disturbing its neighbours; keep 0.5–1% spare panels from the original batch so the colour matches. Face-fixed zones may require removing adjacent panels first, which is one more reason the fixing family is a lifecycle decision.
References
Need an installation programme you can defend?
Send us the elevations, panel build-up, fixing family and design temperature. We return an installation sequence with tolerance checkpoints, realistic output rates by fixing family and access method, the sealing window for a 45°C design day, and the handover defect checklist — aligned with SBC 901 and Mostadam. Talk to the engineering team.